
If you’re anything like me, you might have noticed that typewriters seem to be everywhere at the moment. Or maybe that’s just me. As with most writerly objects, I have a big thing for typewriters, pens, stationery, cool technology I can use to write (apps, laptops, the wonder that is Apple and their horribly overpriced Macs, even though my laptop is Windows) and books about writing. With typewriters, their shape and clattering keys are a physical reminder of the writing craft – but its also their aesthetic style – from the old heavy iron Royal or Underwood typewriters to the colourful shiny newer models, such as the Smith Corona or brightly coloured Royals.
I’ve been searching for an affordable vintage typewriter, but after two let-downs via Gumtree, I asked my Gran if she had any typewriters hanging around somewhere. She did – she had a beige and brown 70’s typewriter, at first glance it wasn’t exactly the most endearing object, but a few days ago I decided to customise it, making the most of it’s brown keys. At first I thought I would paint it with some sort of metal paint, but Dan came up with the idea of covering the typewriter with book pages. I kept looking on Google for tutorials and came across something similar – a typewriter covered with paper and decopatch or decoupage glue which dries to a hard and shiny finish. It can be used on wood, metal, paper surfaces, etc.
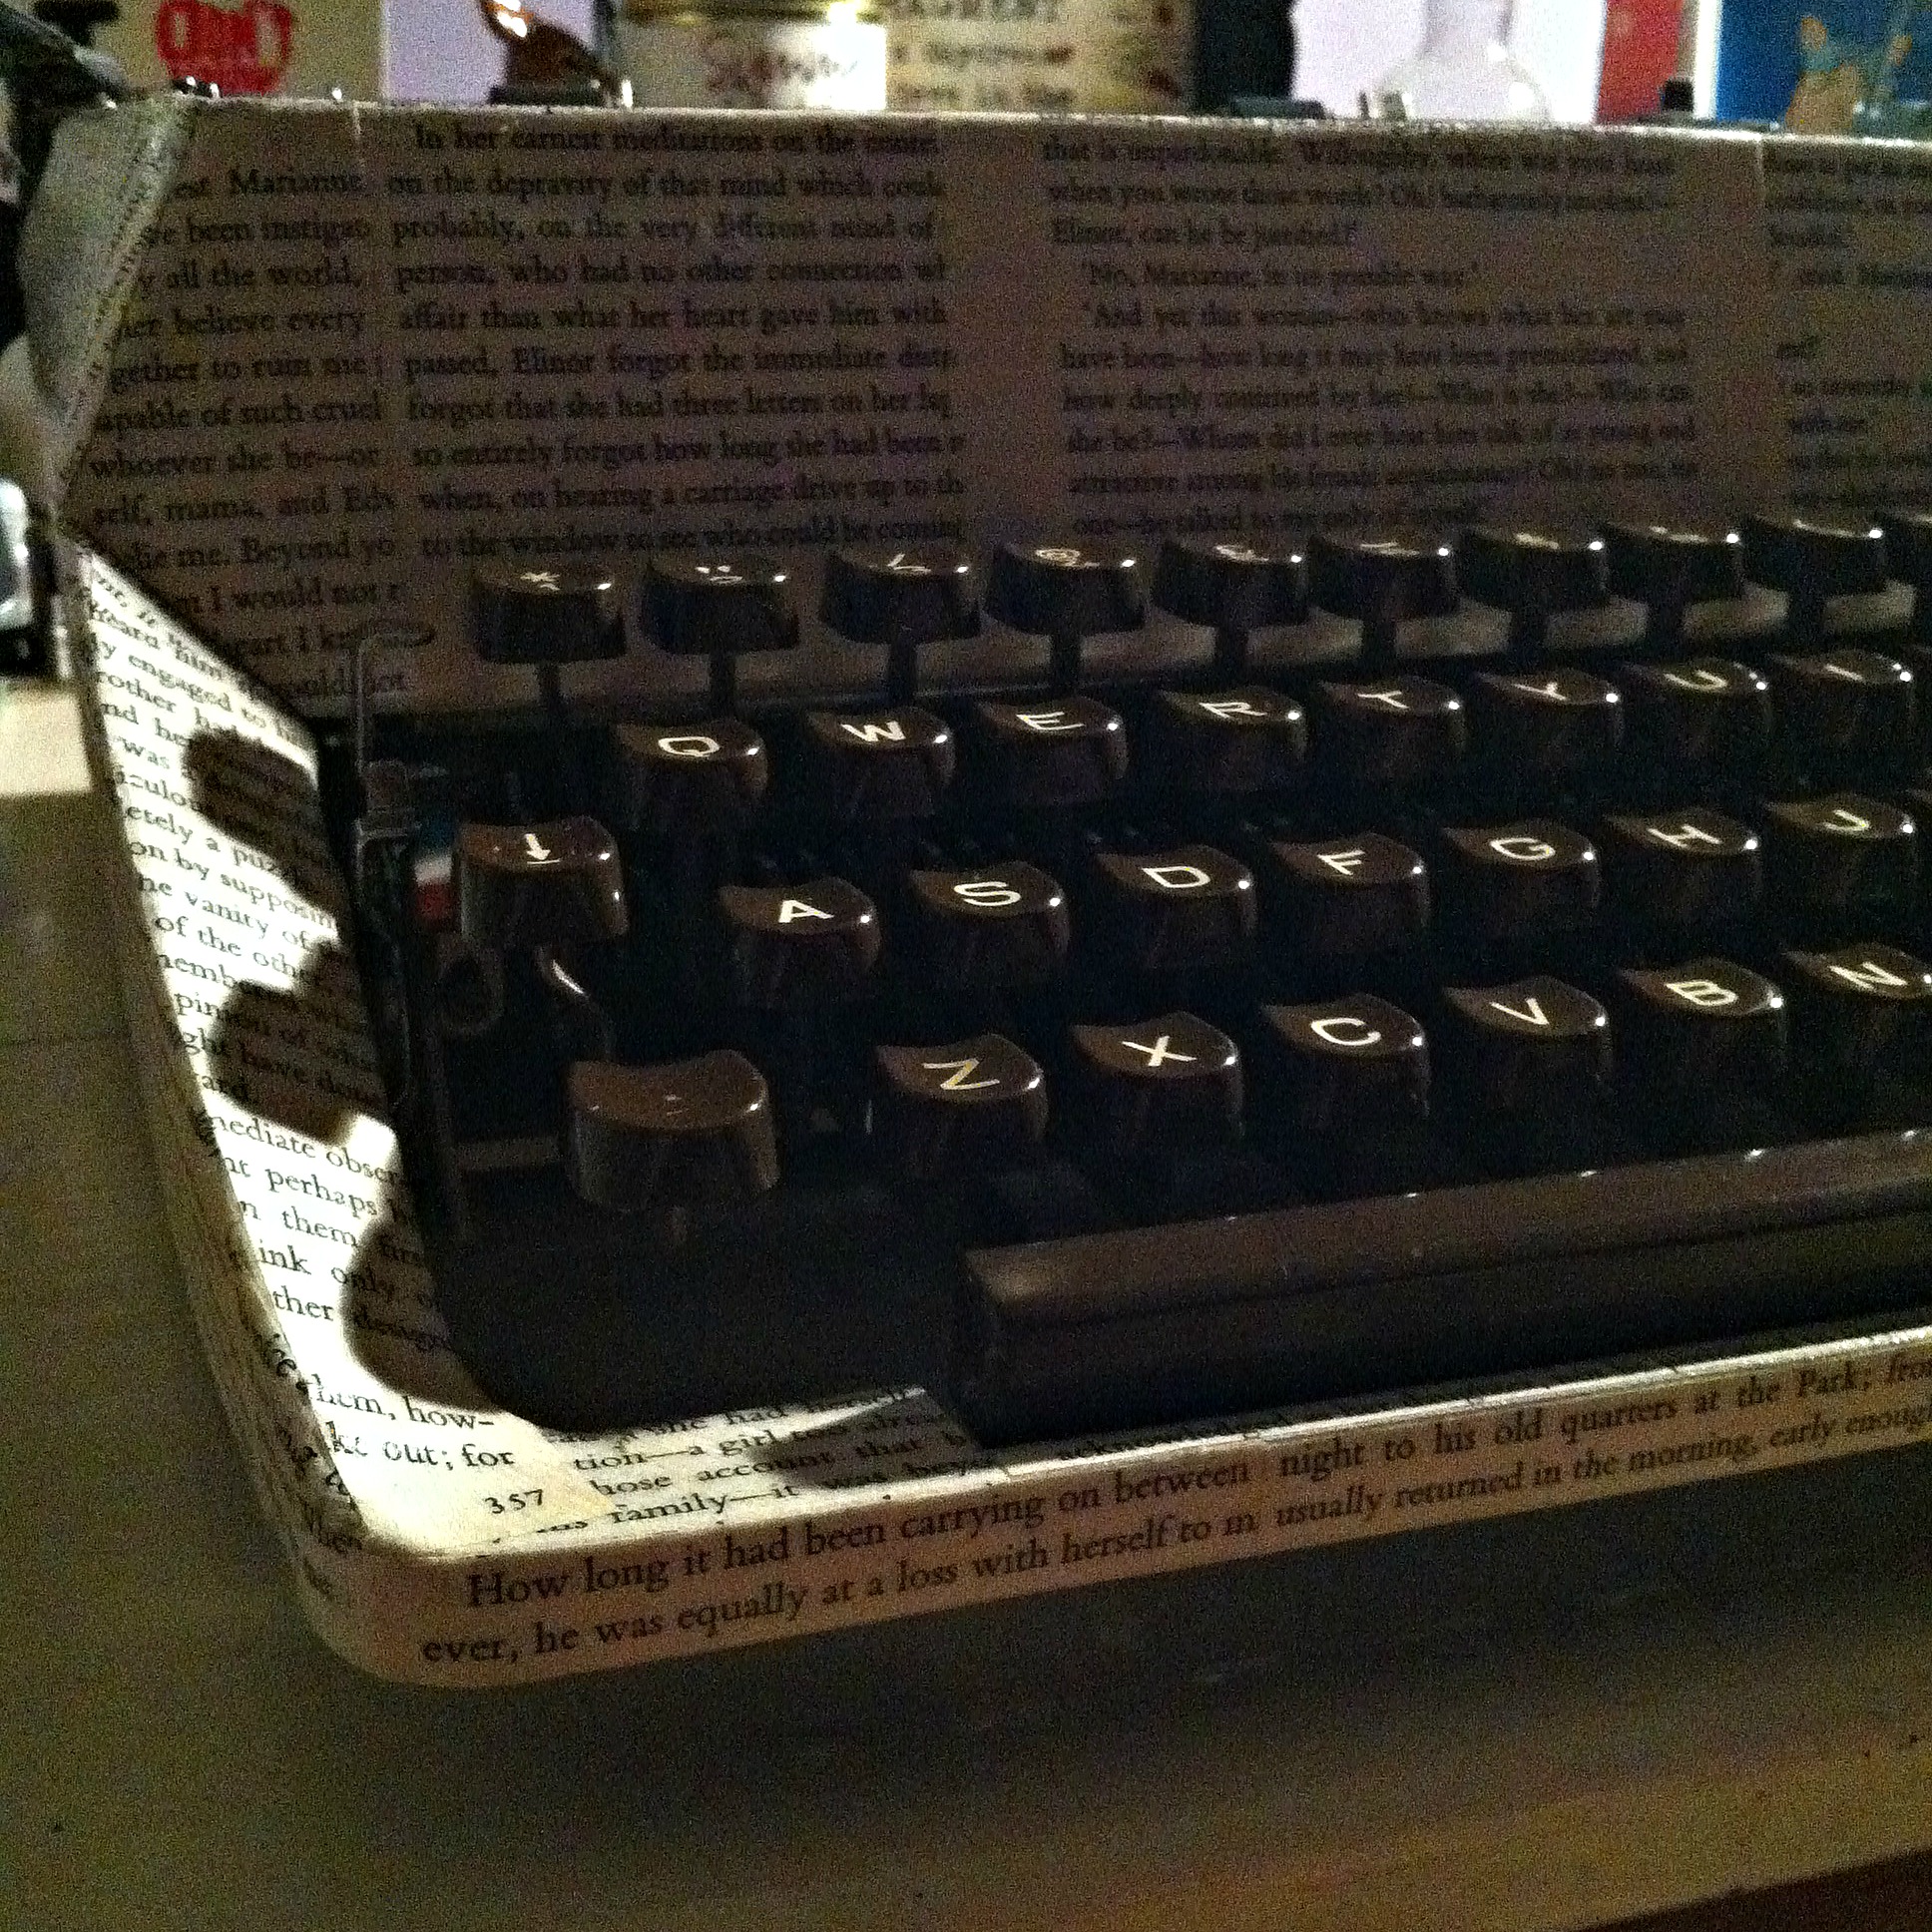
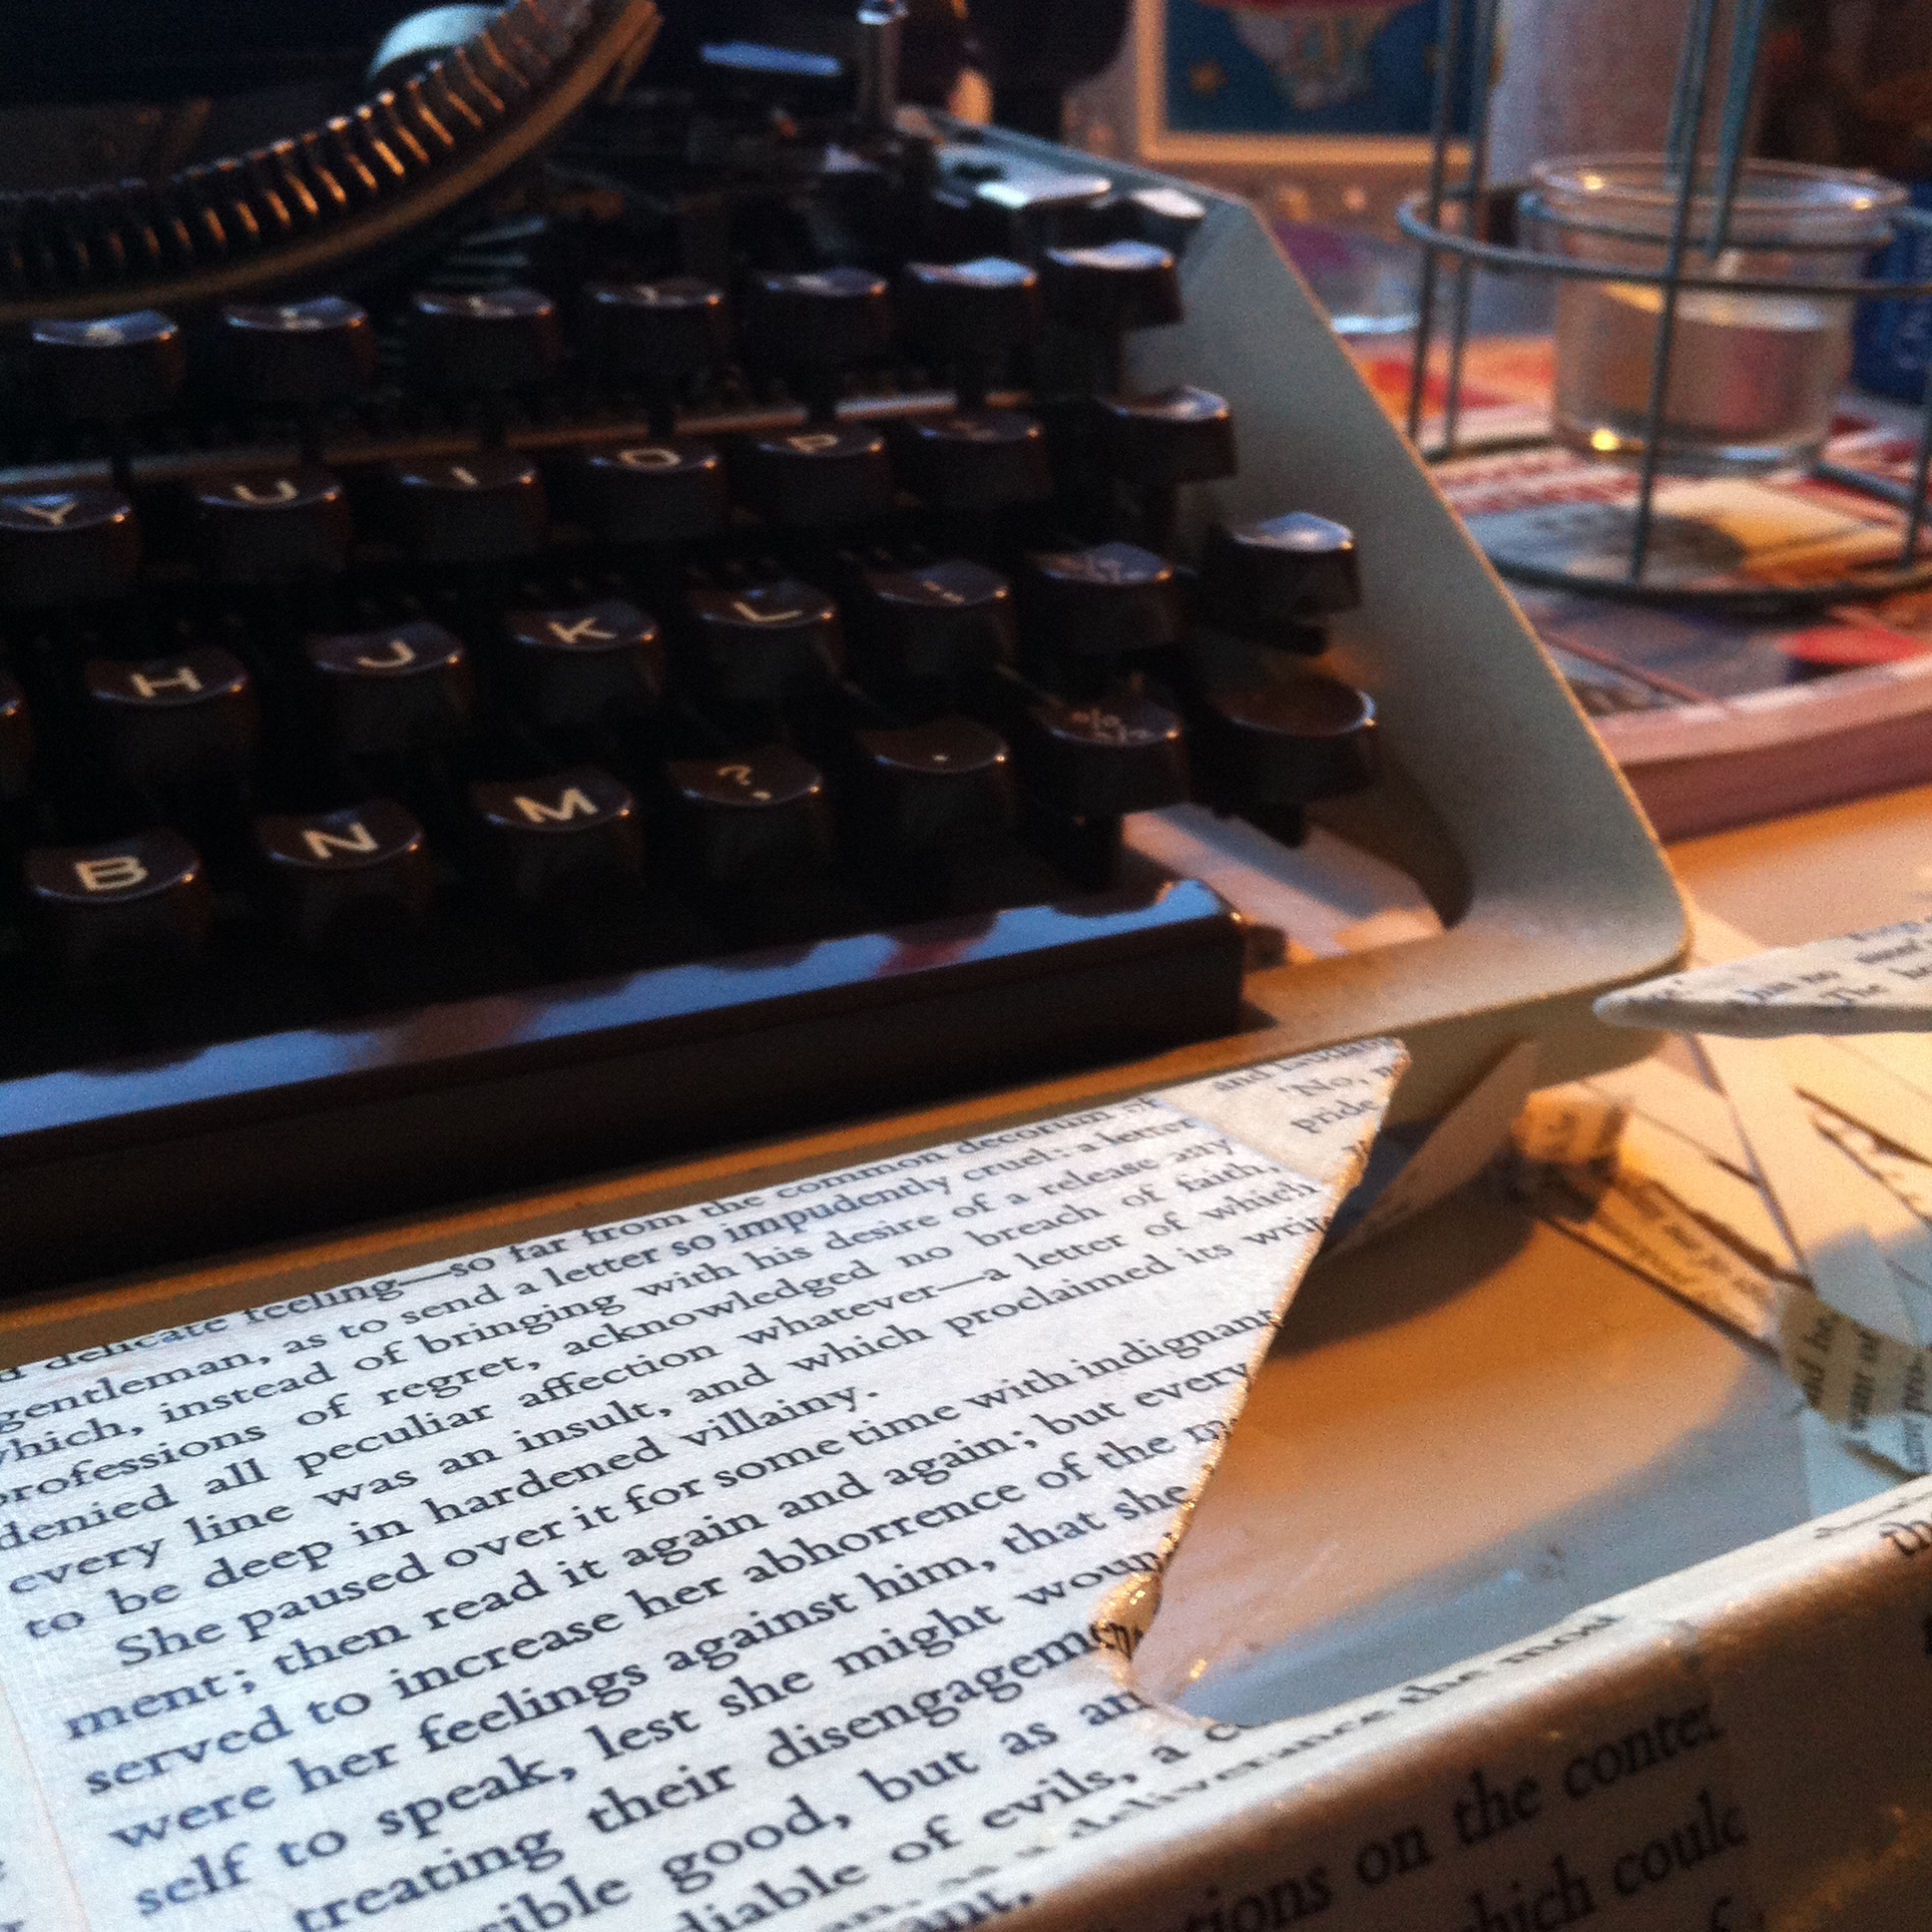
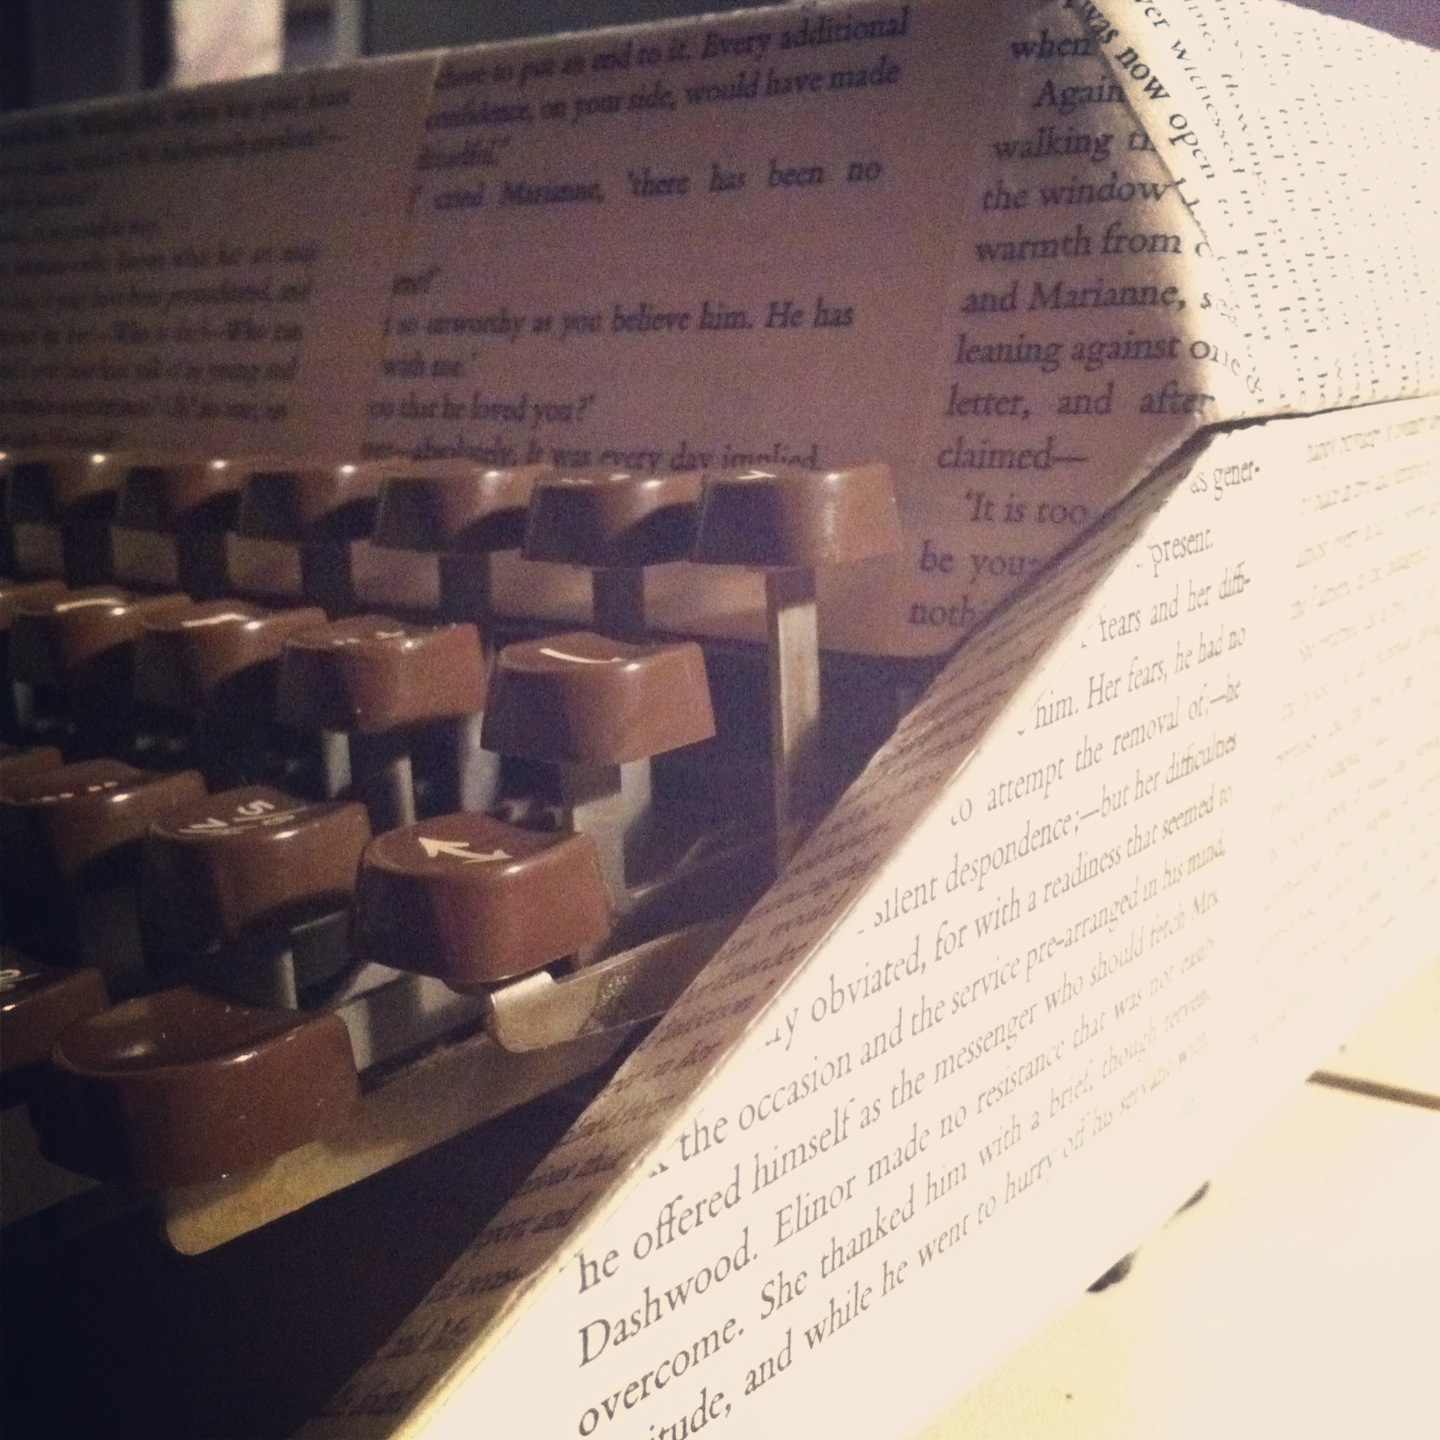
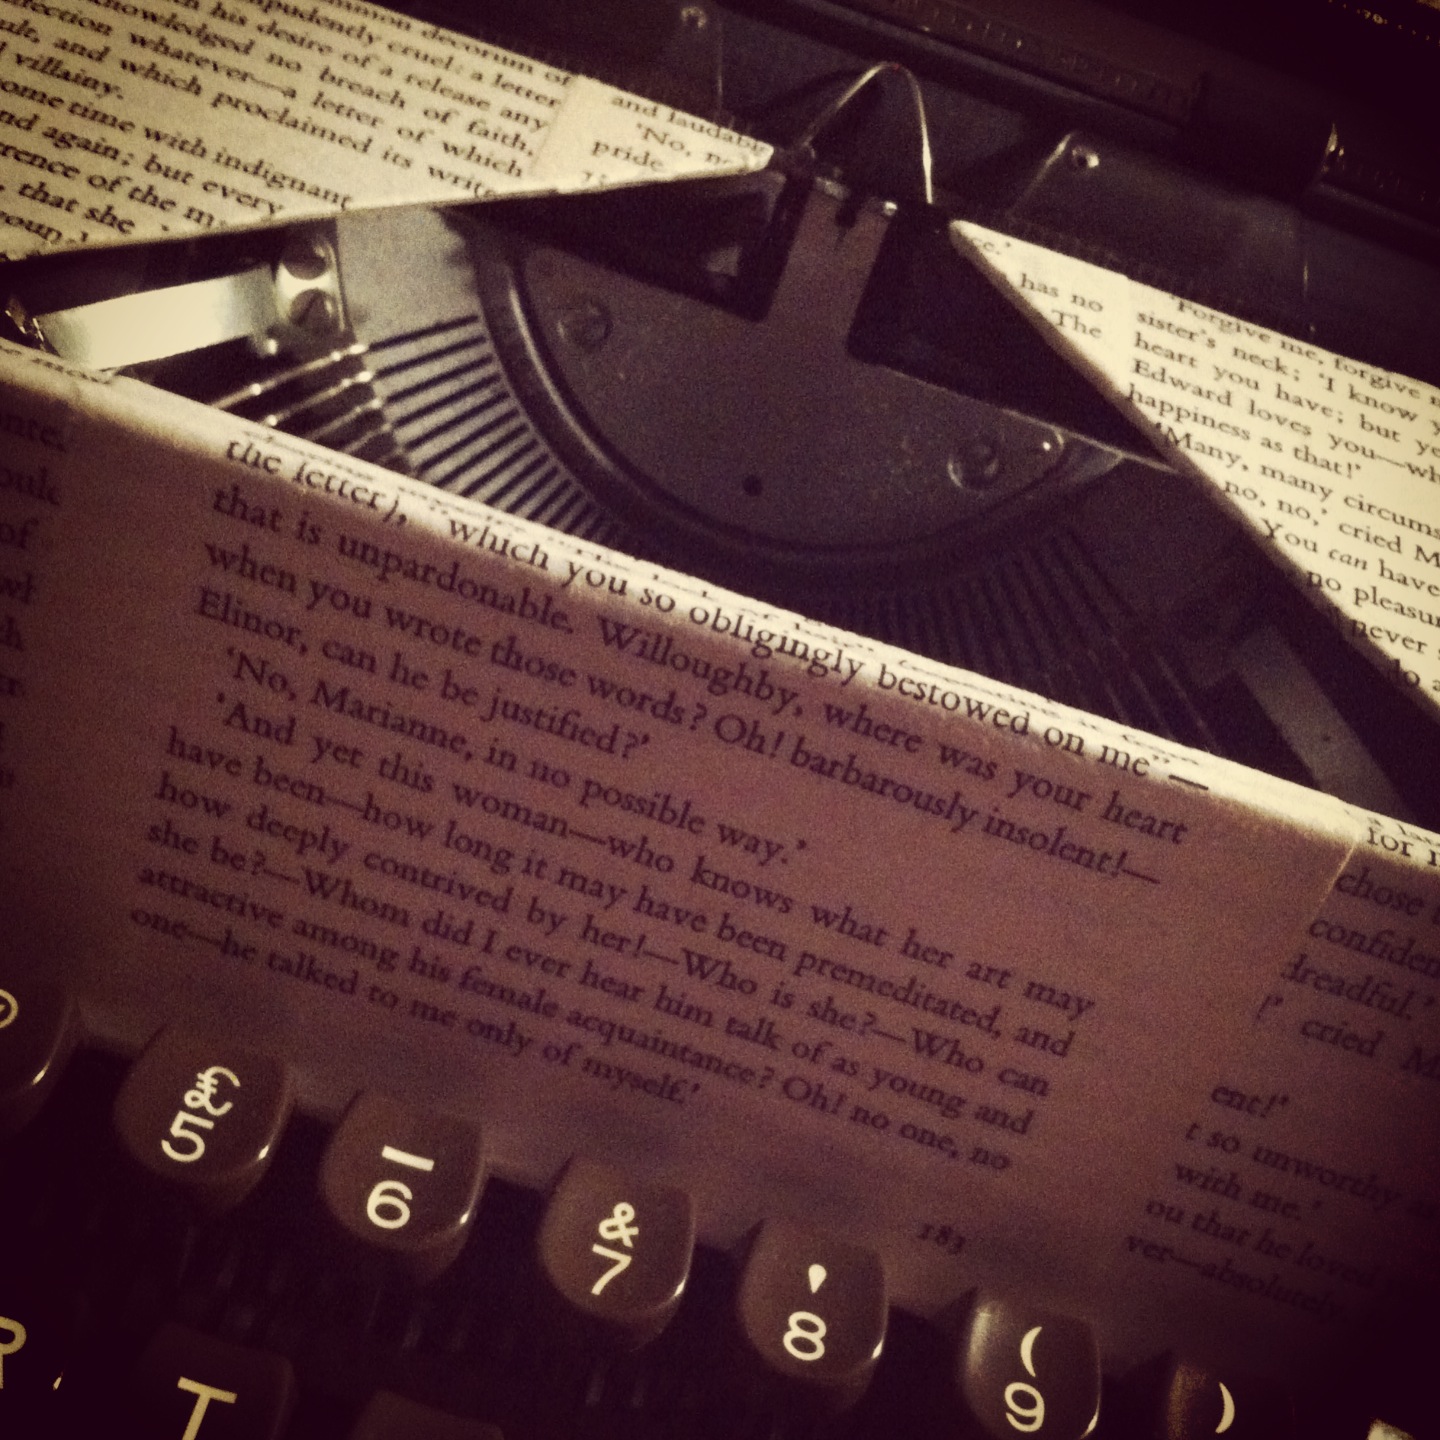
So armed with an old battered copy of Jane Austen’s Sense and Sensibility, I set to work.
All you need for this is Decopatch glue varnish, a good paintbrush (I used one from the Decopatch line because I didn’t want to tempt fate and make a huge mess of everything…), a battered/secondhand paperback, scissors, and a lot of patience.
This project involved a lot of cutting out and checking things were the right size – a lot of improvising involved with cutting things into small triangles and cutting one line or two lines of the text on the smaller areas. Mostly, I was surprised how it easy it was – I’m not a crafting pro and found this enjoyable, if a bit time consuming!
I started with the removable part that you can often remove from above the ribbon spools and typebars. It made the job easier because I didn’t get glue all over the typebars!

With the Decopatch glue, I basically painted the glue on the typewriter’s surface after cutting a piece of paper out to fit that area. After sticking it on, you then put some Decopatch glue over the top of the paper. This ensures the paper is sealed and has a hard glazed finish. I did make a lot of mess with my hands – but the glue is like normal glue, it comes off with a bit of rubbing and scrubbing with soap.
Nothing much to report apart from a lot of measuring, cutting out, gluing down and putting glue over the paper. It took me about 3-4 hours, and I think the glue needs at least 24 hours to set properly and harden.
“I don’t have a computer. A computer’s a typewriter. I already have a typewriter.” – Ray Bradbury.

This is such a lovely idea, I wish I still had my old typewriter, this would have covered that horrible plastic up perfectly!
Maria xxx
LikeLike
Thanks! Yes the typewriter was a rather unattractive one, it reminded me of the early beige computer monitors! xxx
LikeLike